
Making over my daughters closet was really just a trial run for my own master bedroom closet. Not that she didn’t need it. I just needed to build up my confidence a bit.

Unfortunately when we moved in she only had two clothing racks in her closet, one on each side.
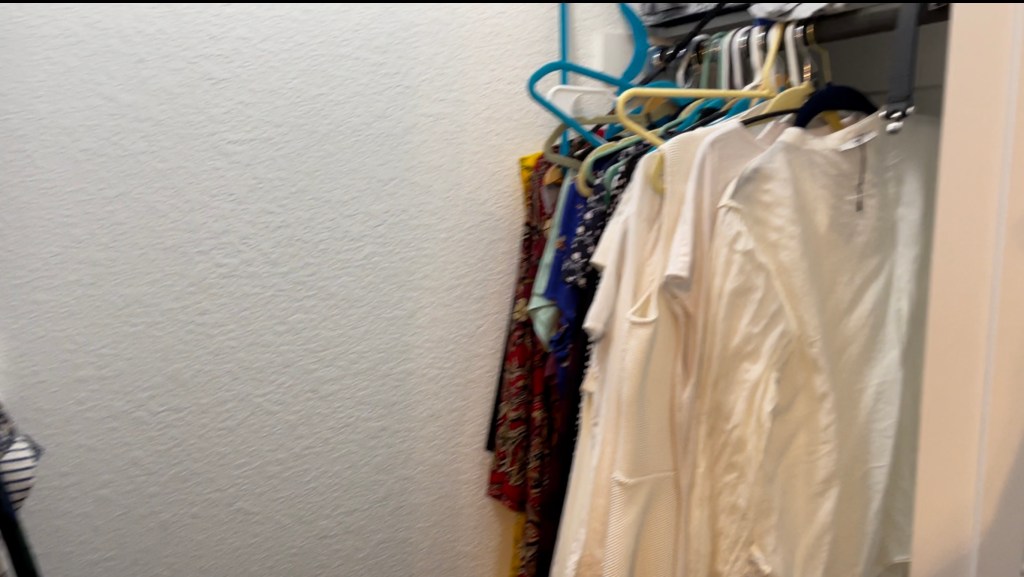
This was a poor use of the space. She is a 30 yr old woman with all of the clothes that a woman of her age has and seems to accumulate more all of the time. So I wanted to try to use the space better.
The first thing that I did was sketch out a plan. I measured the height, back wall and side wall to door. Then sketched out my plan for the built part.

On the opposite wall my plan was to have two clothing racks. I googled how high my lower and upper would be.
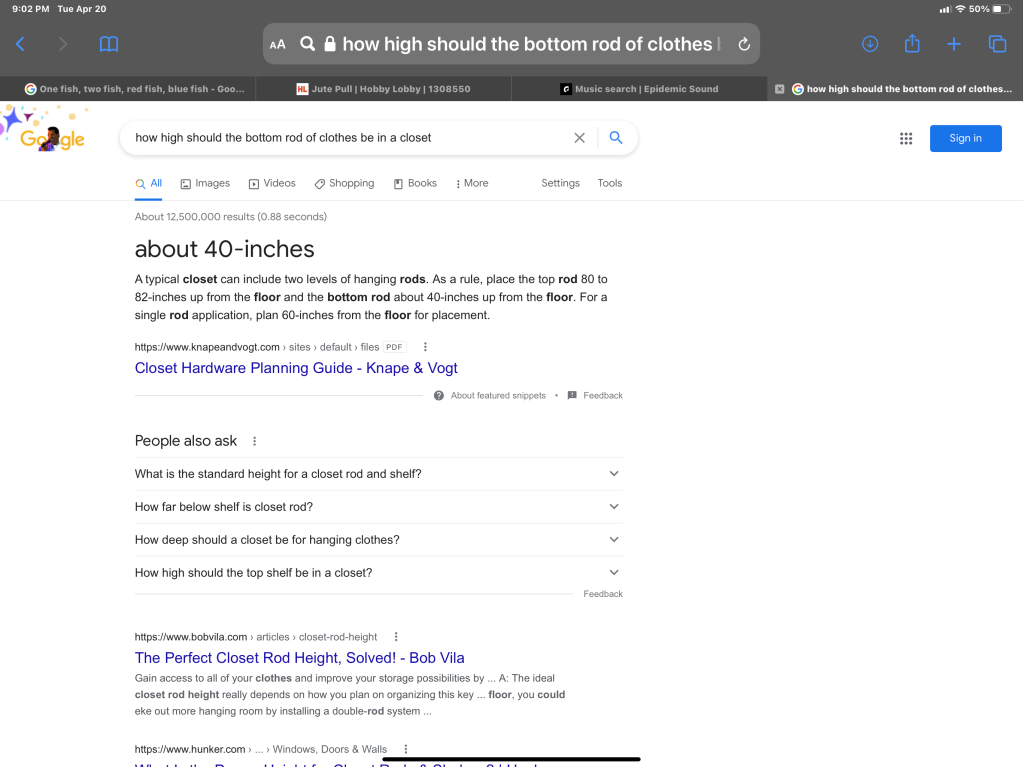
So once I figured out where my double racks went I got to work. I removed the racks from both sides and inserted them exactly as they were installed in their new locations. The first was places 40″ from the floor and the upper was at 80″ from the floor. I located where the studs were and secured my support boards to those locations and reinstalled my shelfs. Easy peasy!
For the build wall. I used 3/4 ” Sande Plywood. I purchased (2) 4×8 boards and asked Home Depot if they would cut them into 3rds lengthwise. Doing this made it easier for me to handle (3/4″ plywood is heaaavy in 4×8 sheets). This gave me a total of 4 boards 16″ each and 2 at 15 1/2 “. Apparently the saw shaves off some of the wood. LOL Maybe this is obvious and actually made sense as I looked at the saw dust on my garage floor but at the time I couldn’t figure it out. DUH. This was ok though because I need some shelves for her hall shoe closet ( more on that later) and those measure 15 1/2 ” x 19.

The depth of my build was 16″ so getting my boards cut this way worked perfectly!
Next I made my cuts .
- (1) 16″ x 35.5″ – top shelf
- (2) 16″ x 66.25″ – shelf sides
- (3) 16″ x 17″- shelves
I left 30″ at the bottom of the shelves to store her laundry basket.
I used liquid nails to help secure the board to the side wall and used my brad nailer to also secure it to the studs. I used one of my cut shelves as a spacer to make sure that the next board was the correct distance so that i could secure the upper shelves to the walls. I forgot to mention that I used a Kreg pocket hole jig to create pocket holes for the shelves to be secured to the sides.

Can you sense how excited I was!
Now I primed and painted it in the paint that I have been using for all of my projects. Behr “Alpaca Blanket”
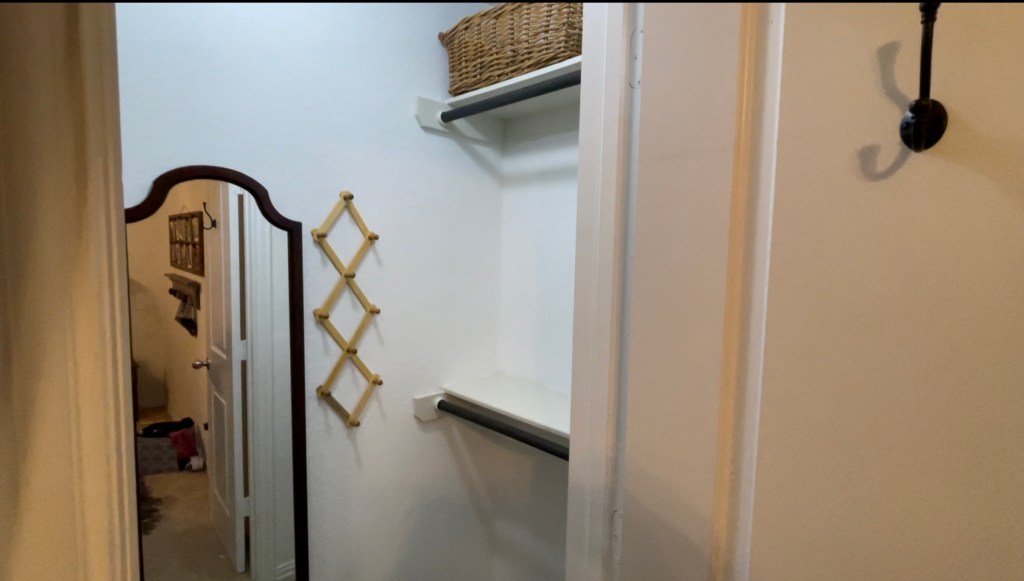
To add those cottage touches to this closet
- hung a mirror
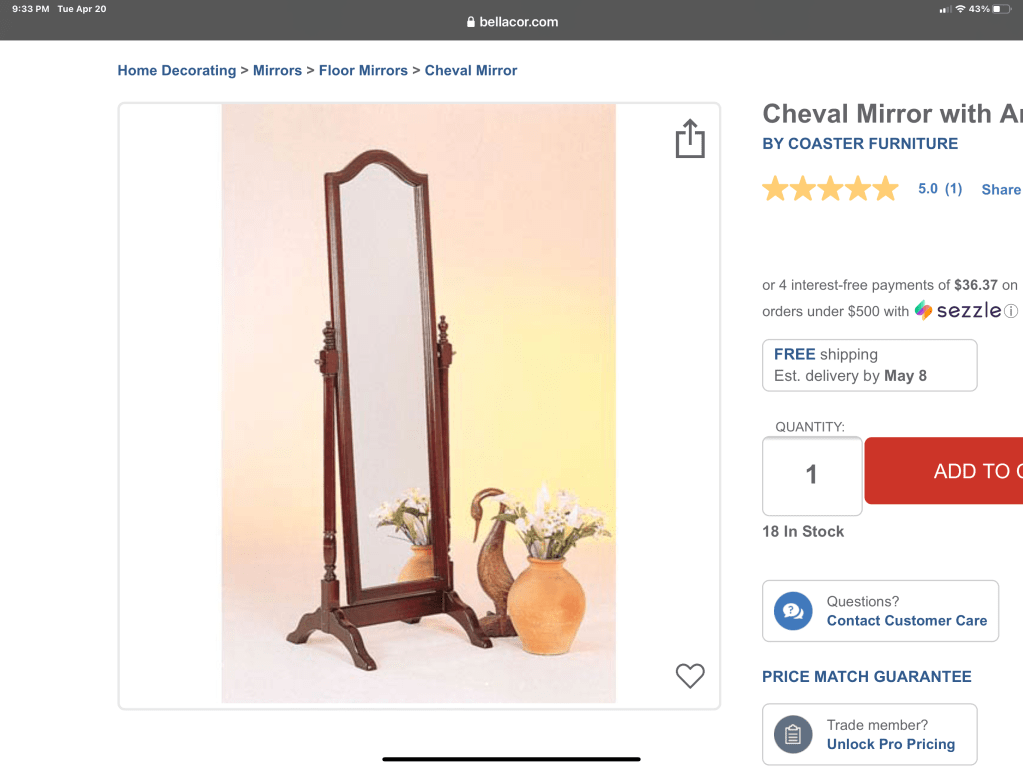
We had a full length mirror that was wobbly and in the corner of her room. I removed it from the base and hung it on the wall.
2. I added the accordion holder to hold belts, necklaces, etc.
3. I used baskets to hold her handbags and other items on the top shelves.
4. I applied rub and buff in antique gold to her light fixture.